Change flex hose and hand shower
Follow this installation guide steps by steps or play the video to watch the installation.
Installing the flex hose and hand shower
![](http://cdn.cloud.grohe.com/Web/local_assets_4_3/service/fr_fr/06_flex_hose_and_habnd_shower/4_3/960/06_flex_hose_and_habnd_shower_4_3.jpg)
1 - If major work is done on the home, the water network must be flushed of all impurities to avoid damaging your mixer.
![](http://cdn.cloud.grohe.com/Web/local_assets_4_3/service/en/change-flex-hose-and-hand-shower-3_4_3/4_3/960/change-flex-hose-and-hand-shower-3_4_3_4_3.jpg)
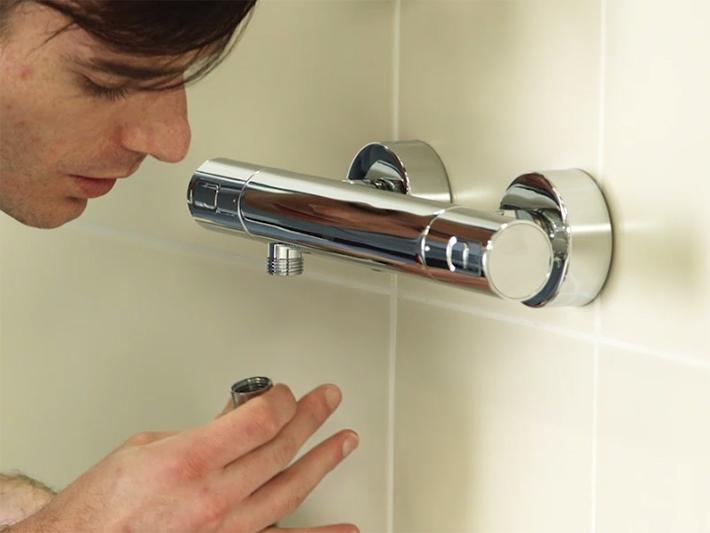
2 - Check the proper placement of seals in the hose. If they are missing, add a fiber or rubber seal.
![](http://cdn.cloud.grohe.com/Web/local_assets_4_3/service/en/change-flex-hose-and-hand-shower-4_4_3/4_3/960/change-flex-hose-and-hand-shower-4_4_3_4_3.jpg)
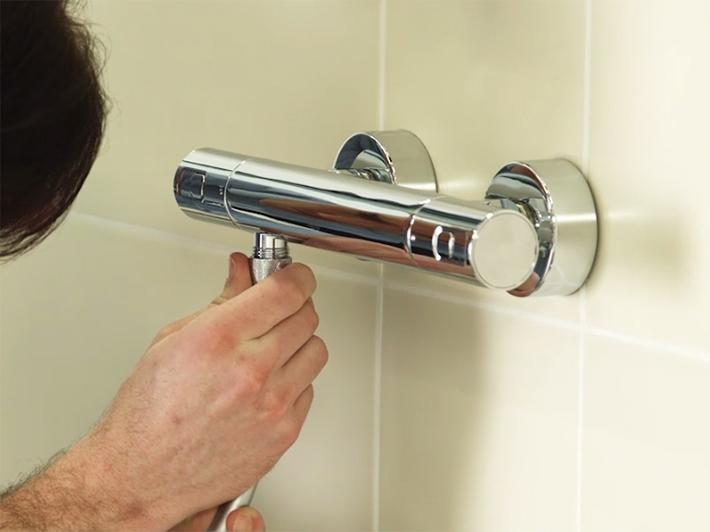
3 - Screw the smaller end of the hose onto the unit.
![](http://cdn.cloud.grohe.com/Web/local_assets_4_3/service/en/change-flex-hose-and-hand-shower-5_4_3/4_3/960/change-flex-hose-and-hand-shower-5_4_3_4_3.jpg)
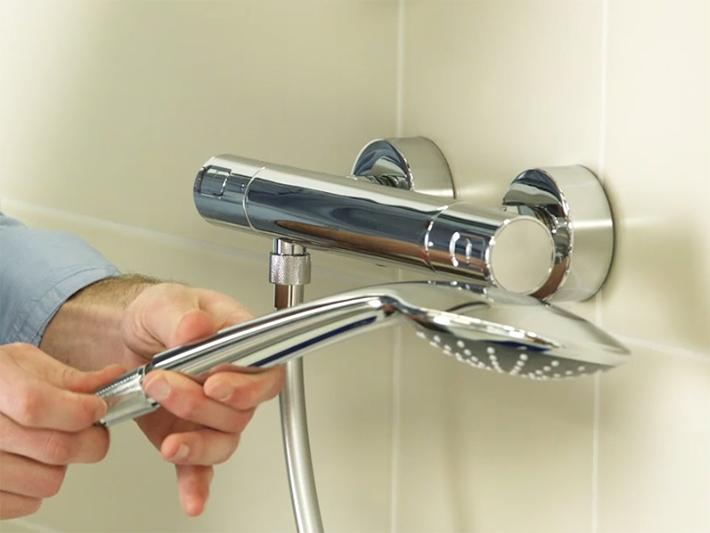
4 - Screw the larger end of the hose onto the hand shower.
Turning on water
![](http://cdn.cloud.grohe.com/Web/local_assets_4_3/service/en/change-flex-hose-and-hand-shower-6_4_3/4_3/960/change-flex-hose-and-hand-shower-6_4_3_4_3.jpg)
Make sure the hand shower operates correctly.
![](http://cdn.cloud.grohe.com/Web/local_assets_4_3/service/fr_fr/final_4_3/4_3/960/final_4_3_4_3.jpg)
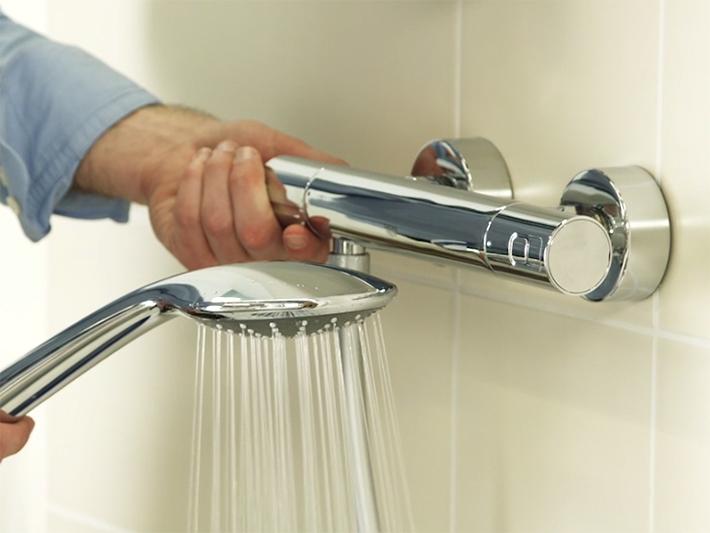
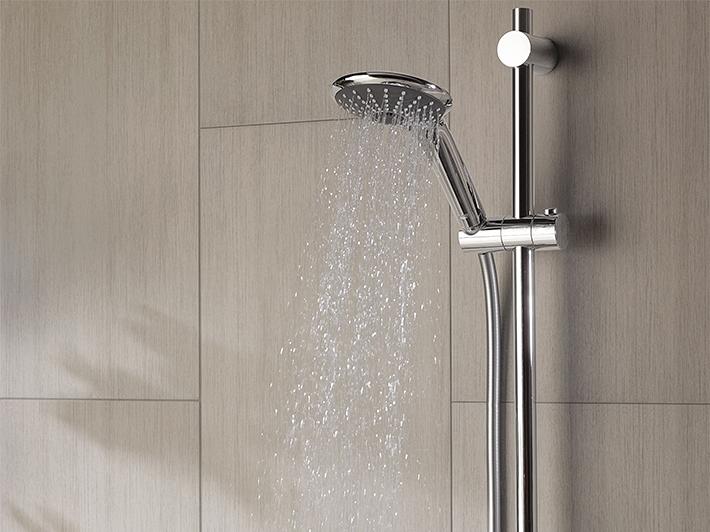
Congratulations, you have finished installing your new GROHE product.
Check our other installation guides and discover all of our products on grohe.fr.